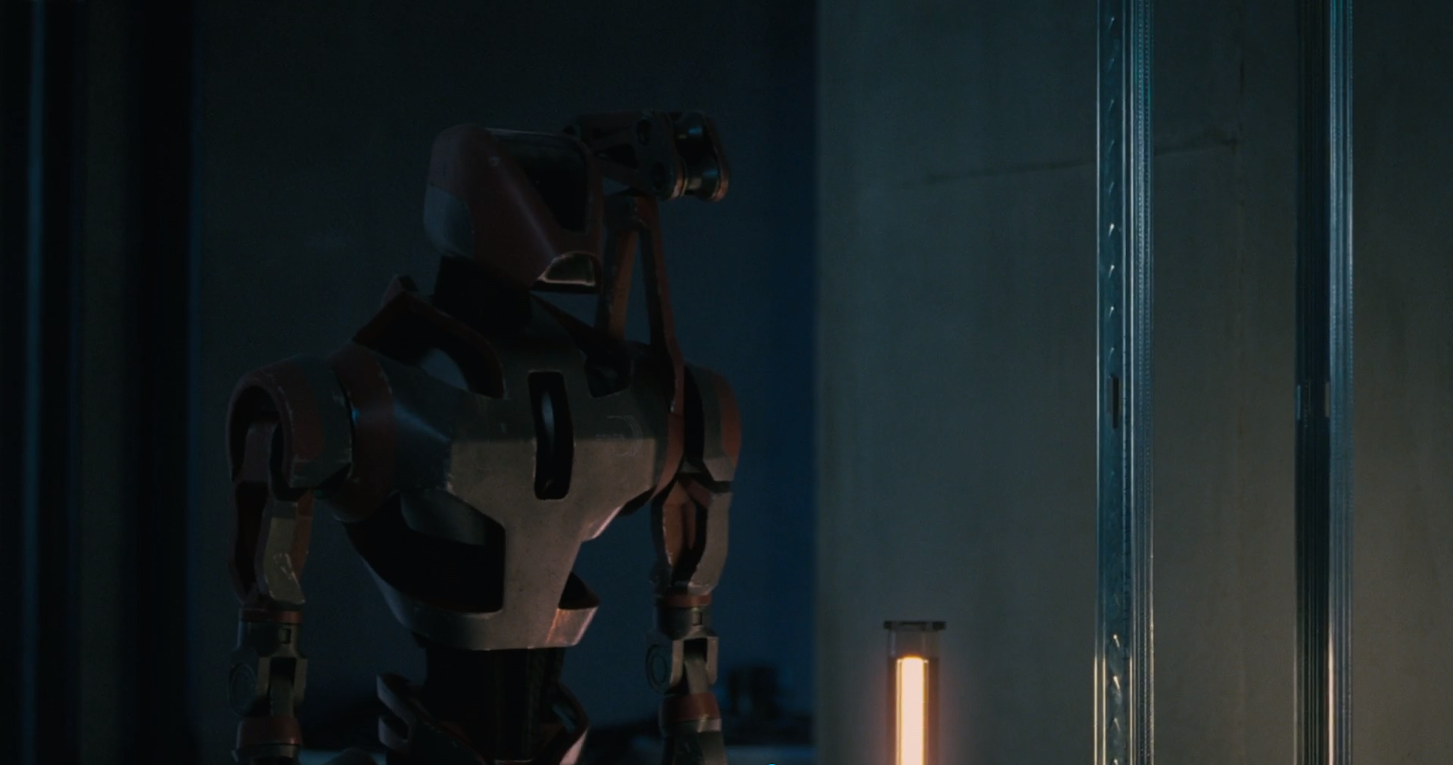
At DNEG I was Compositing Supervisor for Westworld Season 3.
We were responsible for creating some of the main robot characters in the show.
My responsibilities were primarily working with the DFX and VFX Supervisors, creating tools and templates, and managing our 2D team.
I also created FX elements in Houdini to help out the Harriet Escape sequence when our FX team was busy with the complex damage progression effects on Harriet.
Created ground damage effect (Houdini RBD sim)
I had an opportunity to composite this long fly-through of the Borg ship to help out the team working on Picard.
There was considerable complexity with the assets and frame ranges involved, so my job was to quickly assemble the pieces and work with our CG and FX artists to sort out what else was needed for comp.
This is a small selection of shots I composited on Dark Crystal.
The Caves of Grot was the most memorable sequence I worked on. A practical miniature set was built for the village inside the caves, and photogrammetry was employed to build our CG environment used in the final shots.
I used 3D projections to blend practical atmosphere and water stock to augment our CG effects, and Nuke particles to fill the cave with atmospheric fog. Finally I added our practical puppet character and blended with the CG double and wings.
All of these shots involved seamlessly blending the practical puppets and set pieces with CG characters and backgrounds.
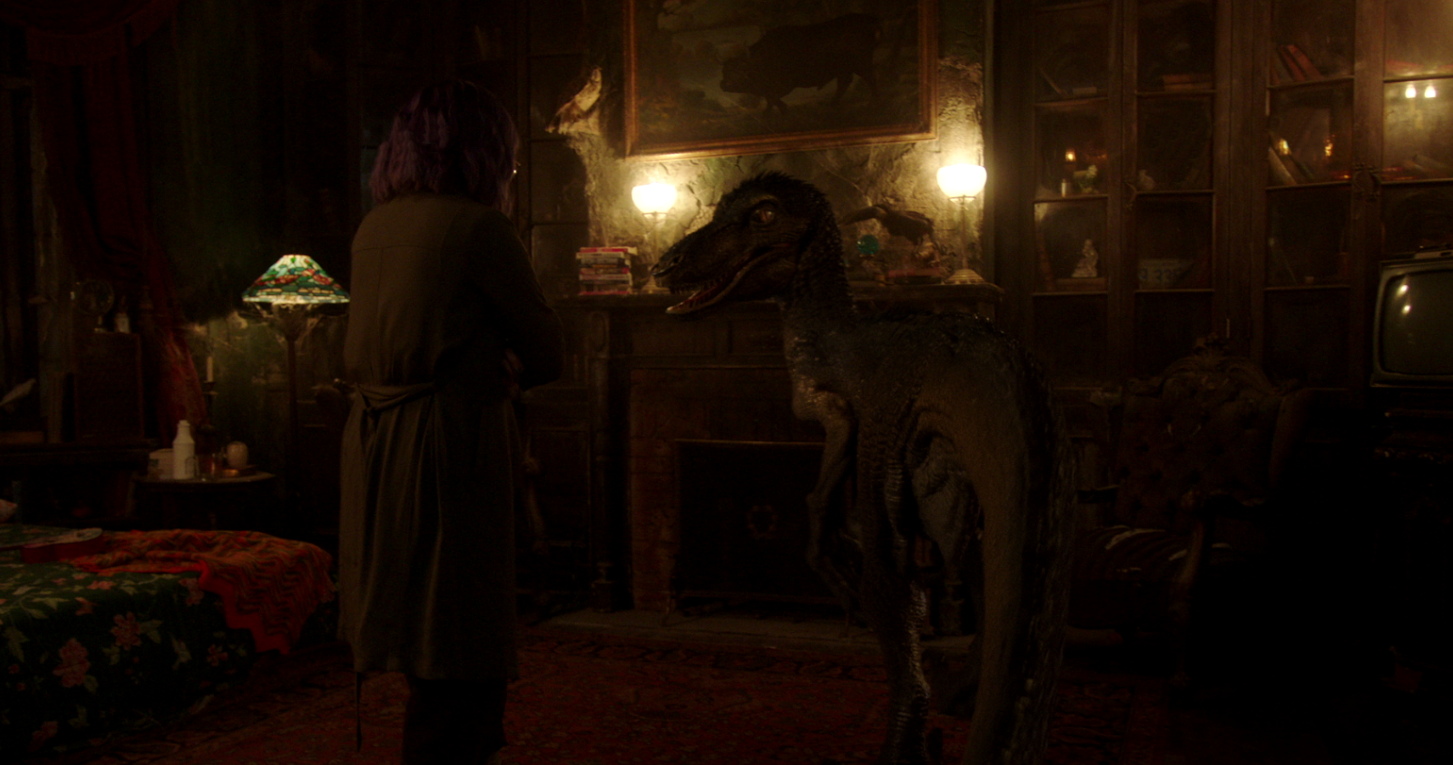
At DNEG I was Compositing Supervisor for Runaways Season 3.
We did a variety of hero sequences in the show, and in particular were responsible for the main dinosaur character, Old Lace.
Our DFX and VFX supervisors had developed Old Lace across earlier seasons of the show, so my job was to work with them to update the look and keep it consistent with the practical dinosaur puppet used on set.
At FuseFX we received a VES award for our hero character effects in American Horror Story Season 3.
For Twisty the Clown, I used 3D projections to remove the lower part of the actors face and replace it with the CG jaw piece. I finished the shot by blending the edges of the CG piece into the actors face and adding the flickering campfire light to match into the plate.
Our conjoined twins character Bette and Dot was less straightforward. We had the challenge of joining two separate performances shot on set, and blending them into a single character on the backgrounds.
The solution we landed on was using a lot of spline warping, driven by tracking the markers drawn on the actress. We were able to track the subtle skin movements and have it appear to push and pull the skin of the second twin.
A variety of TV compositing work from the past few years.
At DNEGTV LA I wrote a Python program using PySide that gets all of the active artists and their tasks to help manage shot assignments.
After selecting a shot, a query is made to Shotgun that gets all versions of the shot that exist, and labels them so that an artist can see at a glance where a shot lives in the pipeline.
Finally, selecting a particular comp version shows all notes and relevant information for a compositor to reference.
The tool grew out of a desire to quickly view shot assignments across our team. We found that loading Shotgun pages using the web interface was cumbersome so I took the opportunity to learn some of the Shotgun API to build a faster interface.
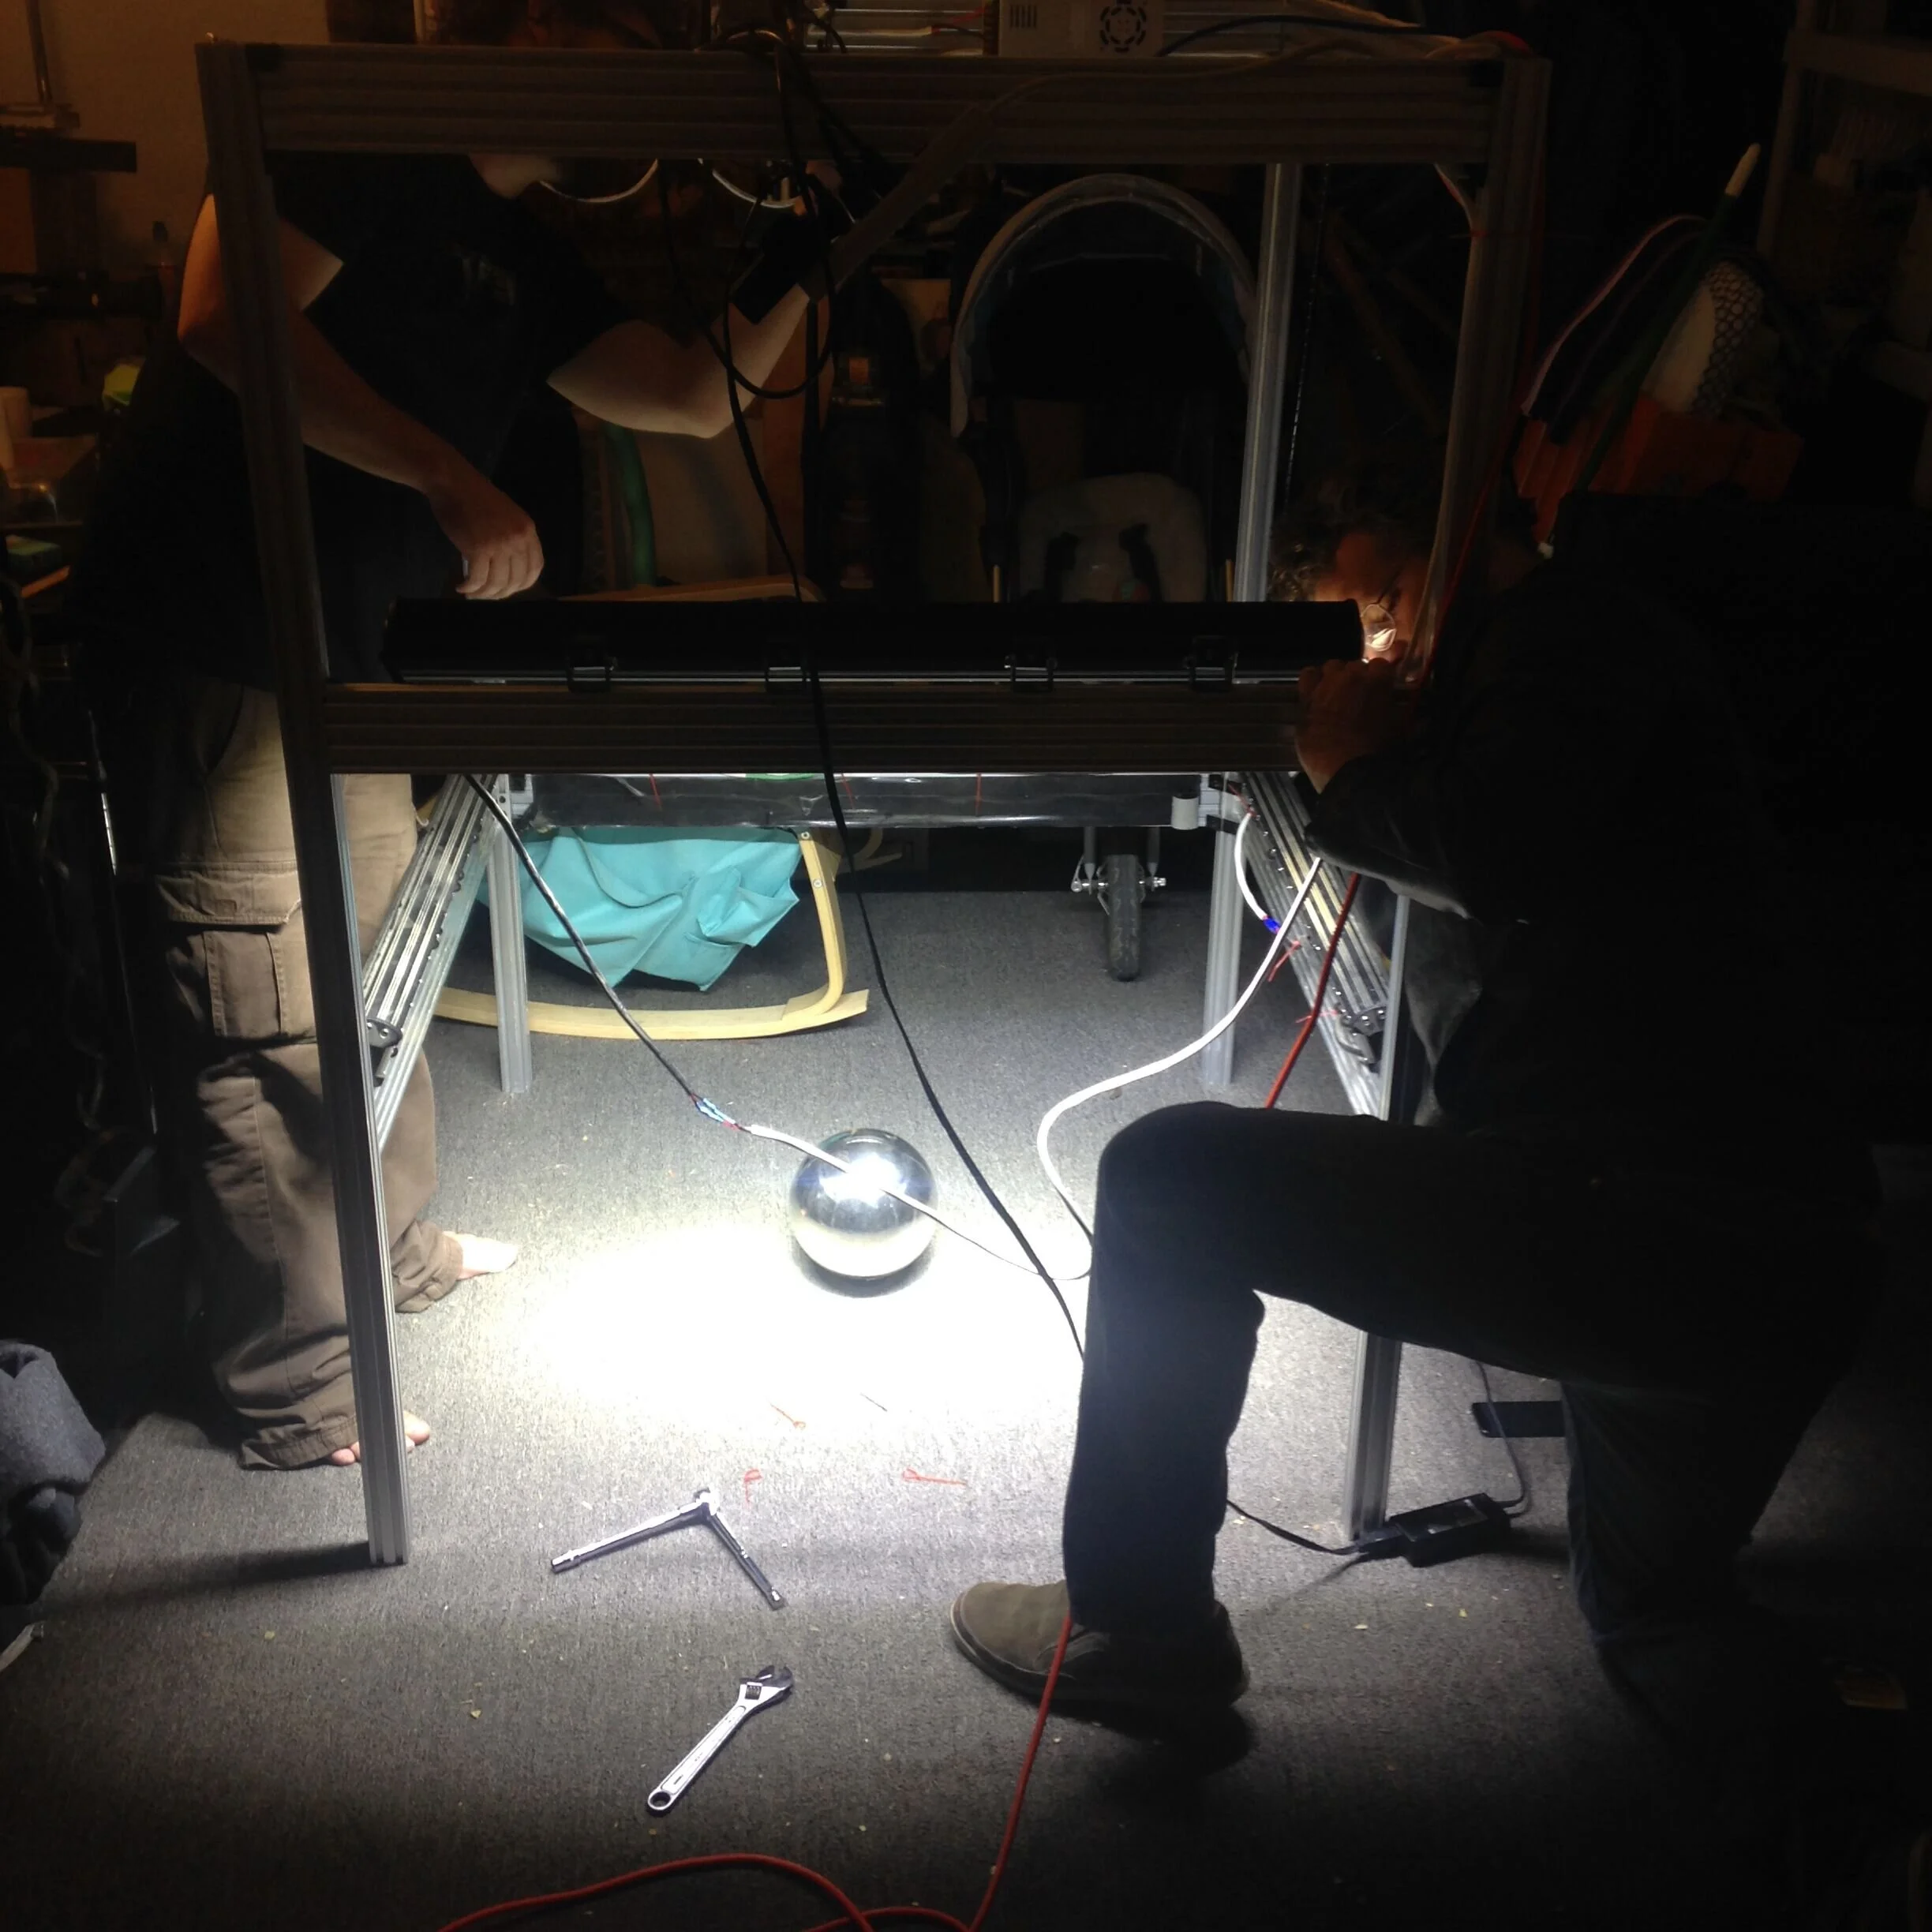
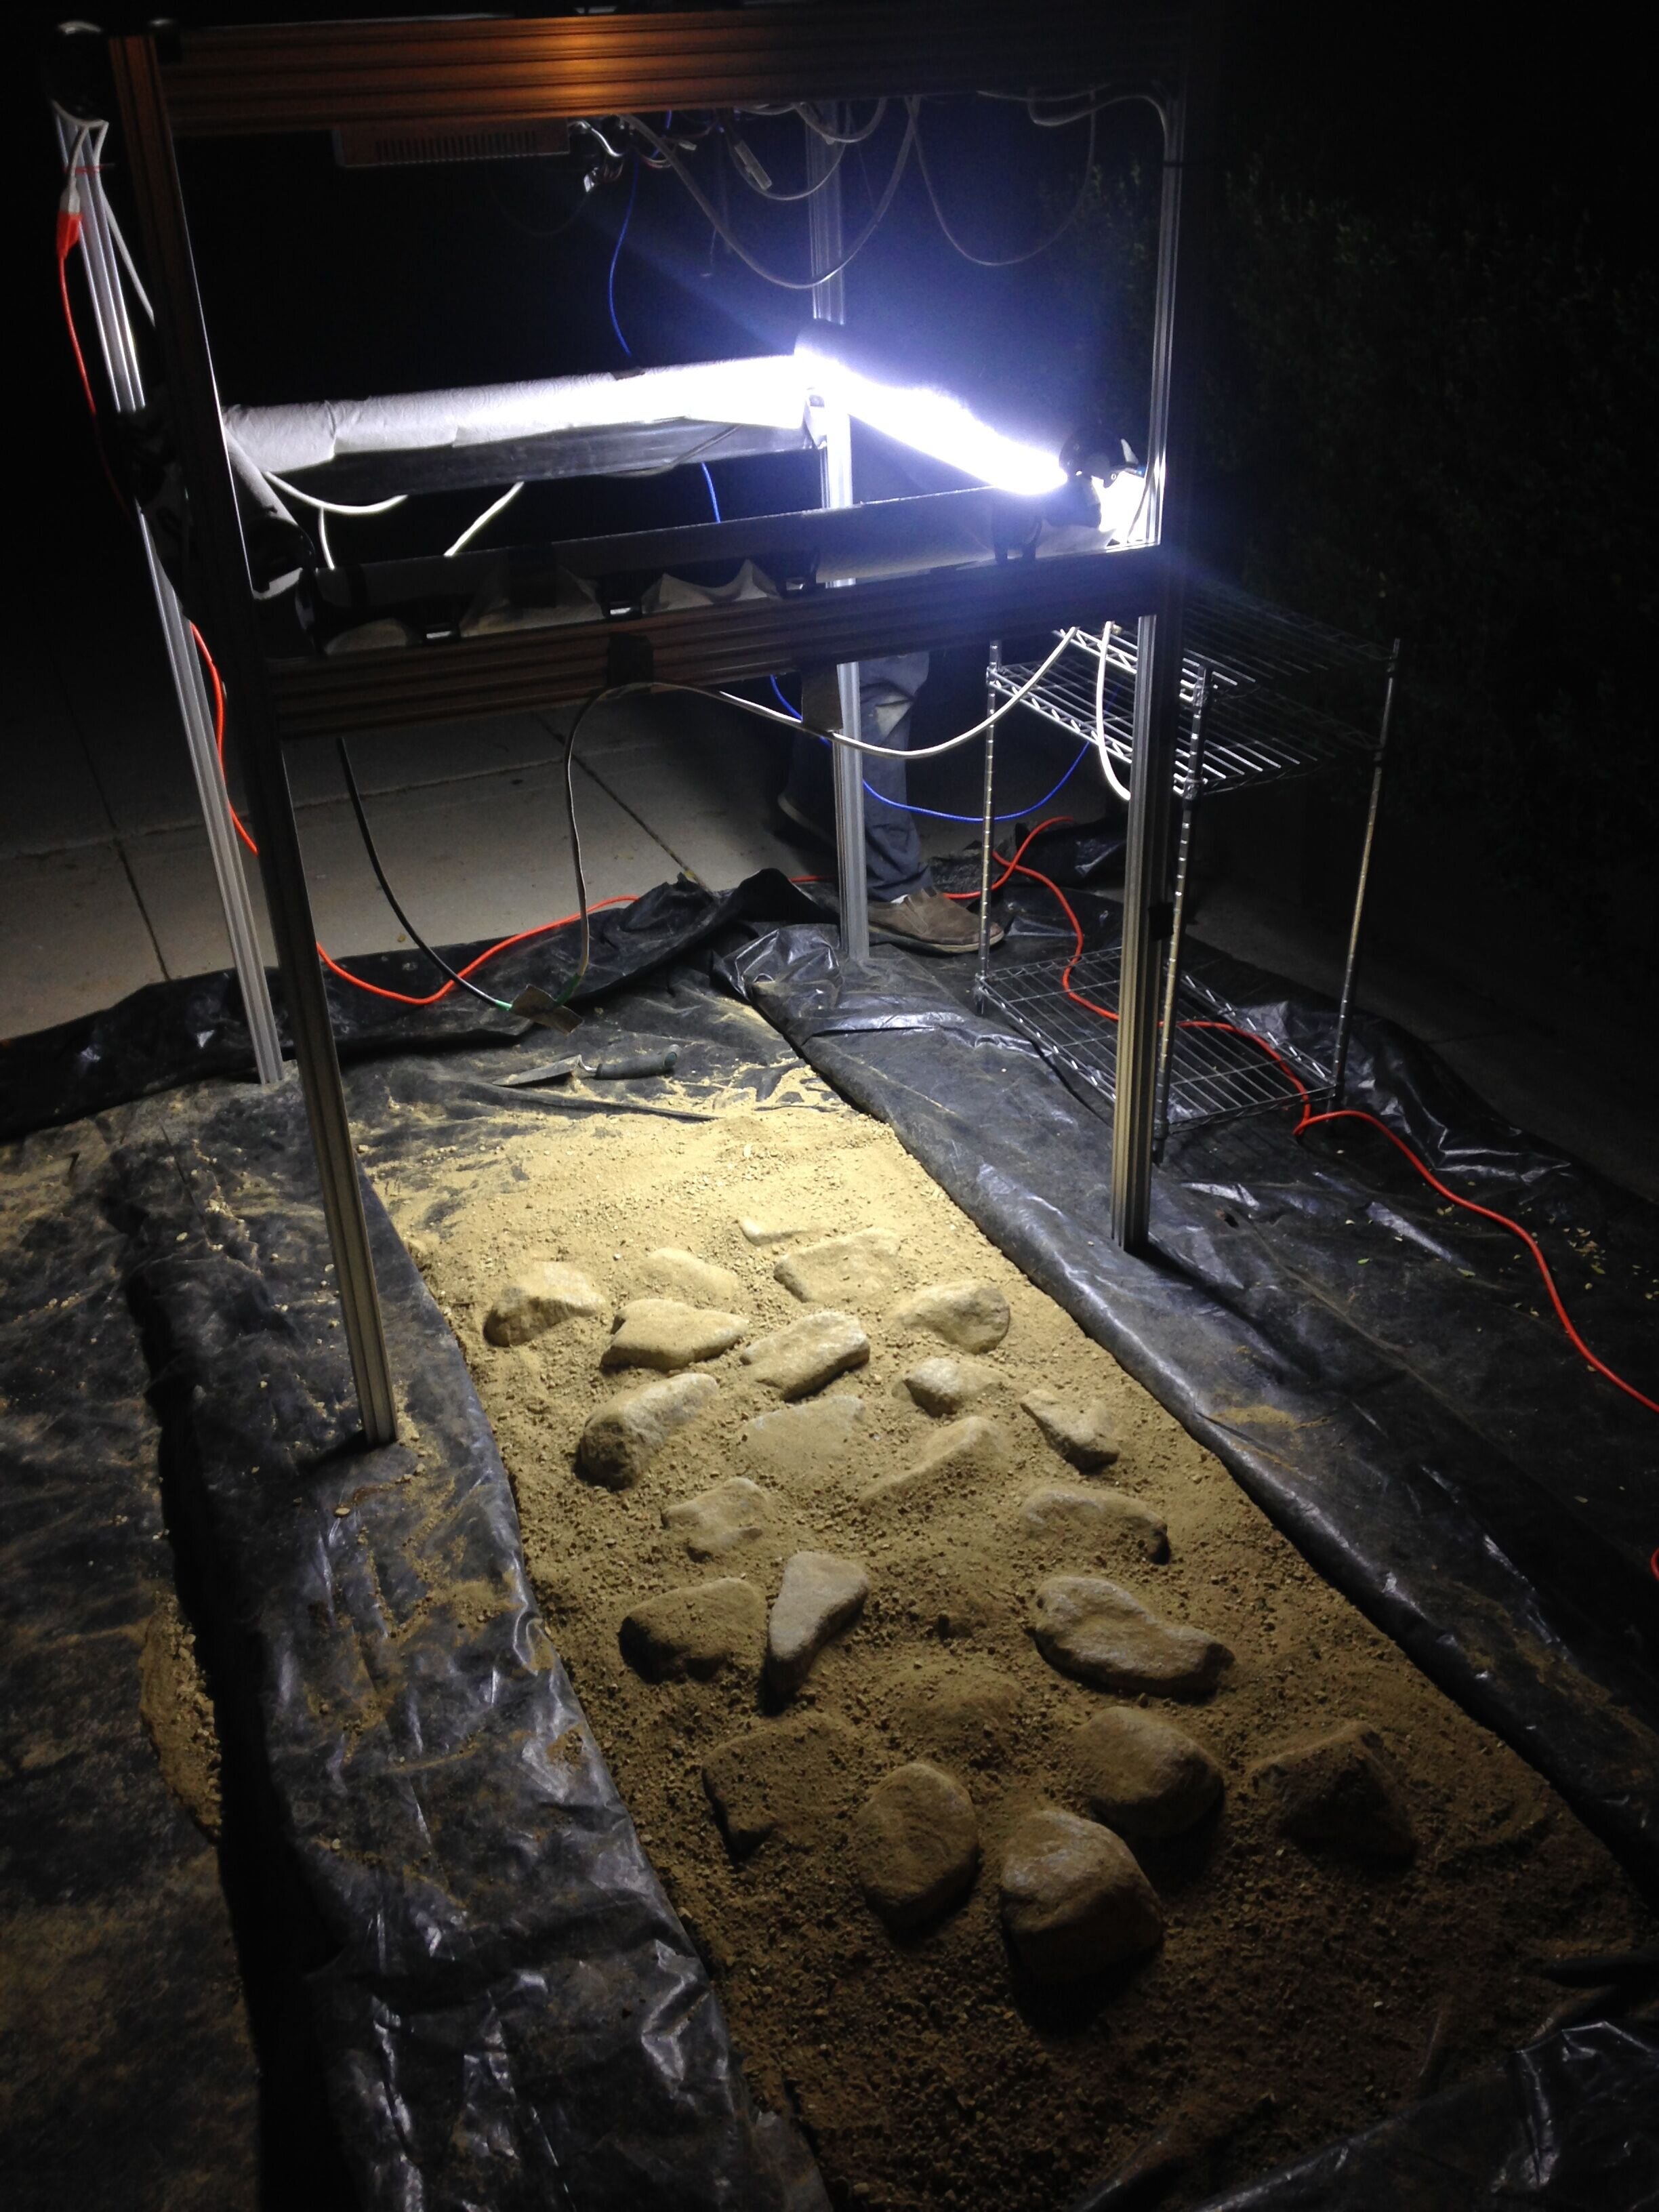
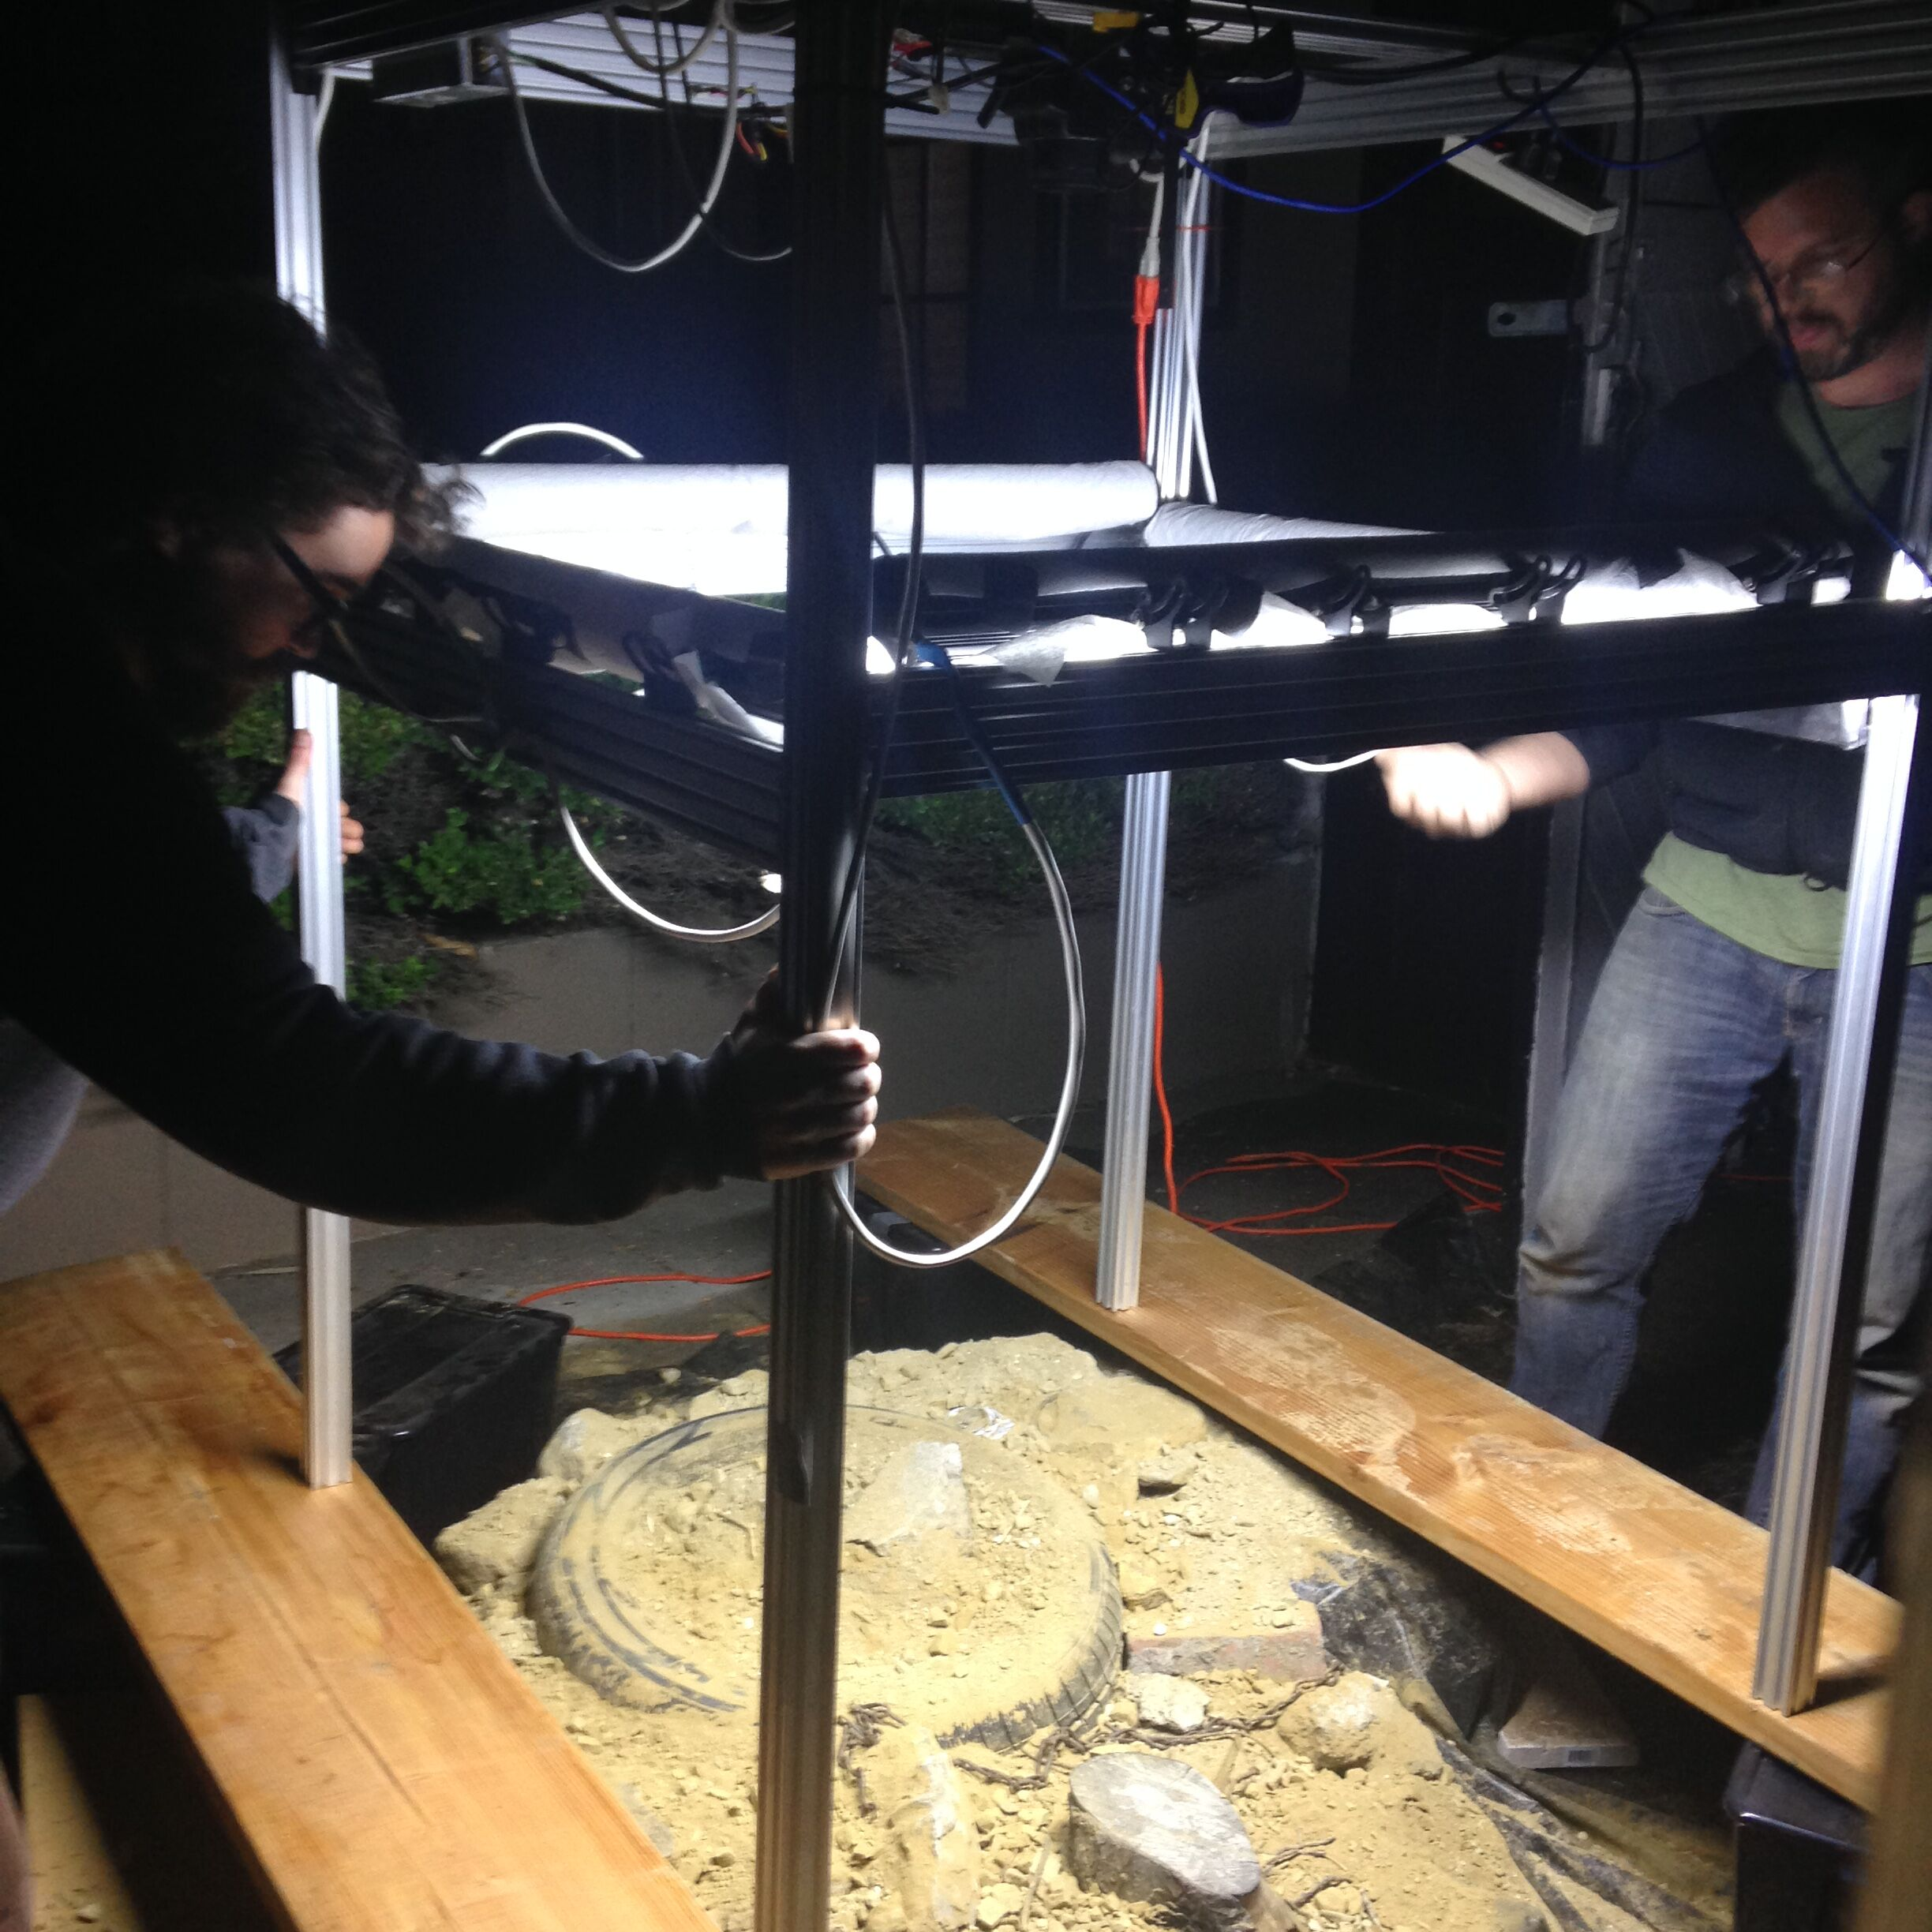
With 3D scanning becoming a common tool in asset creation for real-time applications, I wanted to make our own scanner to build a material library. The Light stage at USC and projects like Quixel Megascans inspired us to create a similar scanner on a DIY scale.
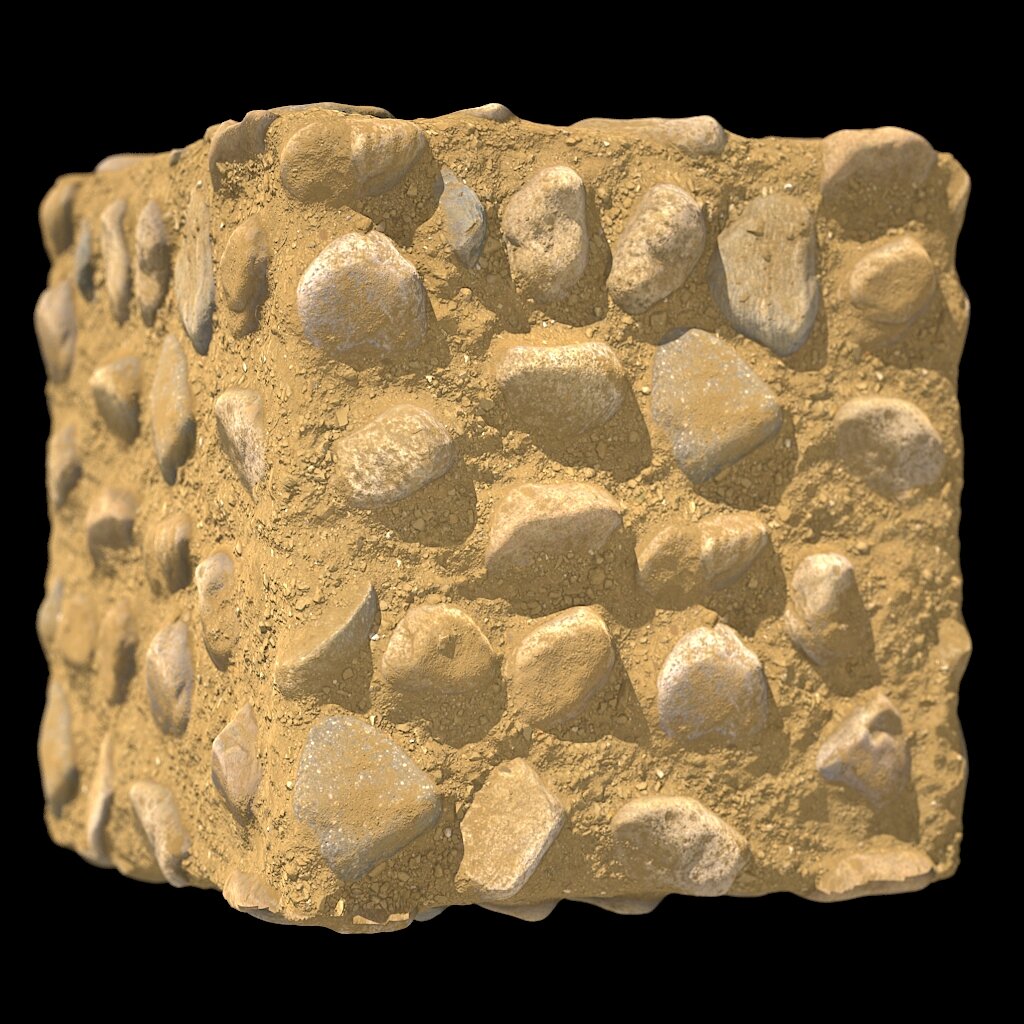
We built a prototype, and a post-pipeline in Nuke to process and output texture maps.
Employing a technique called photometric stereo, we were able to capture surface normals and height information from 2D images captured by the scanner.
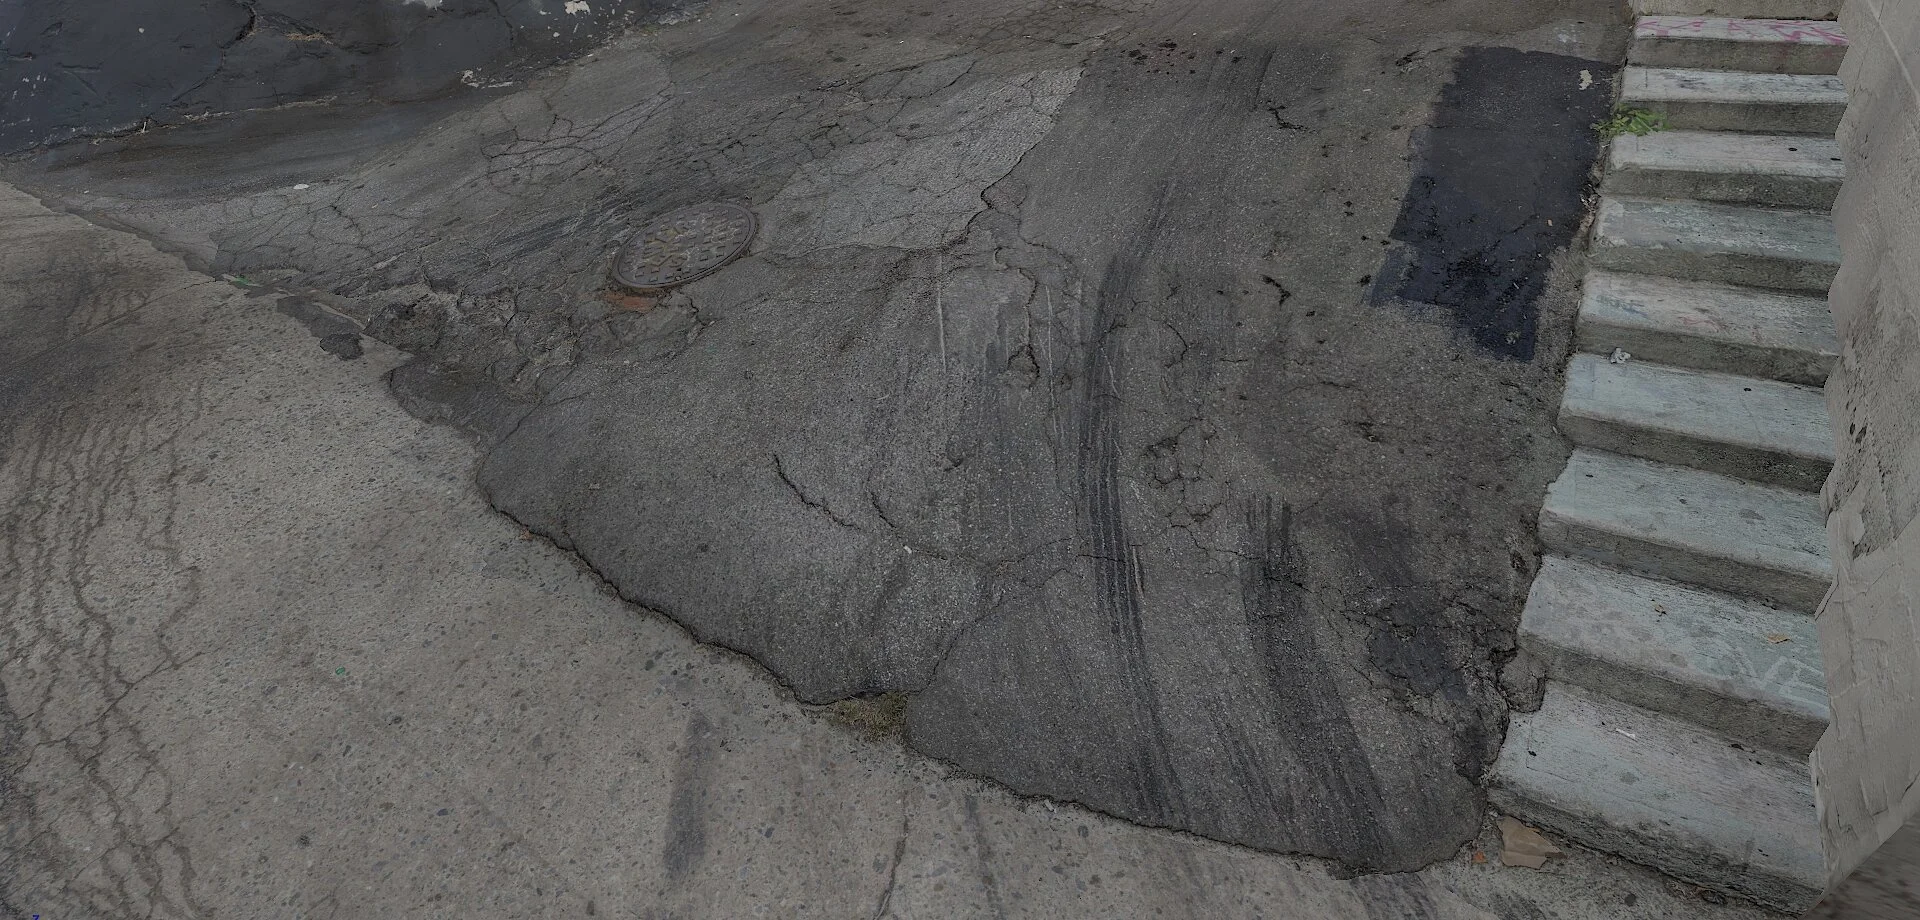
An R+D project to test the limits of creating a virtual set from a real world location in UE4 using photogrammetry techniques.
The final product was a small environment that could be experienced in VR, and to float virtual cameras through for high-res renders in real time.
I used my DSLR to capture thousands of photographs of the location, and built a small pipeline to create and post-process the scans.
My approach was to split the environment into “chunks”, and create a set of modules that could be assembled in the game engine.
First, raw models were built in Photoscan. I brought the pieces into Maya to lay out the scene. Once pieces were assembled, I used Zbrush to clean up the raw scans, then laid out UV’s on low poly versions.
Finally, the high res models were baked down to normal maps to capture the surface detail in the shaders. The final chunks were brought into Substance Painter for final blending and artifact cleanup.
The final maps were 16K to capture enough texel density that the whole environment had enough detail viewed up to be viewed up close without revealing pixels.
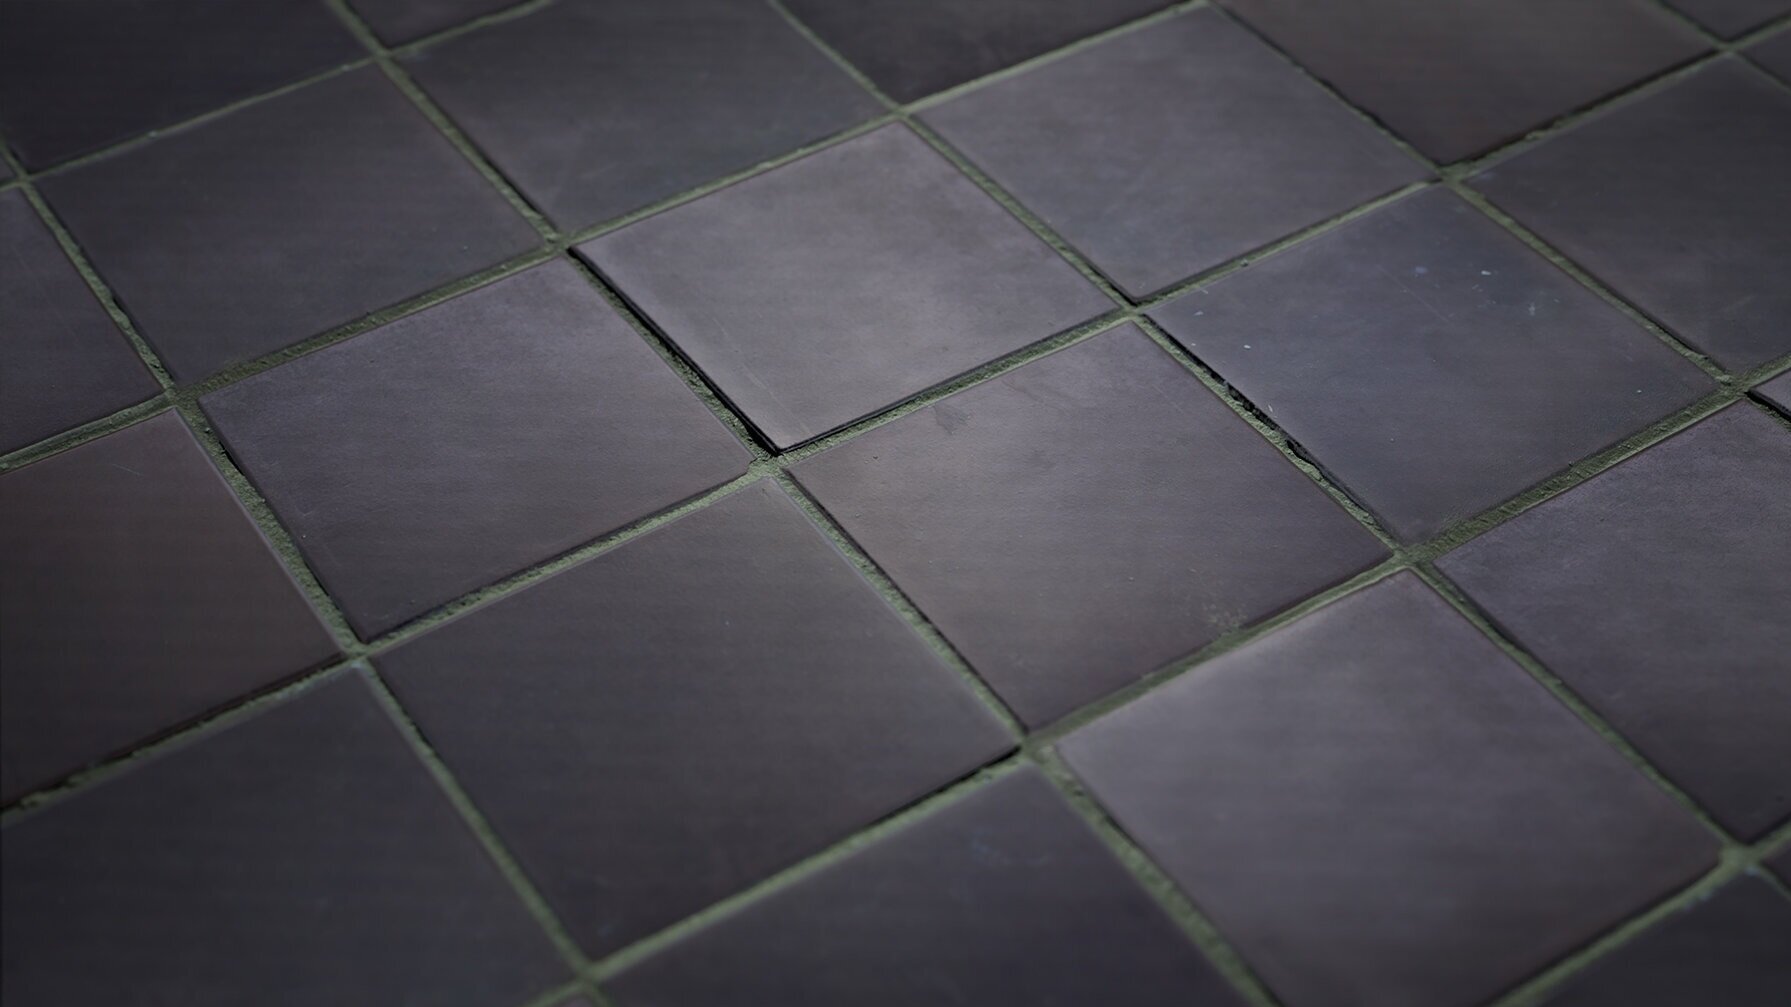
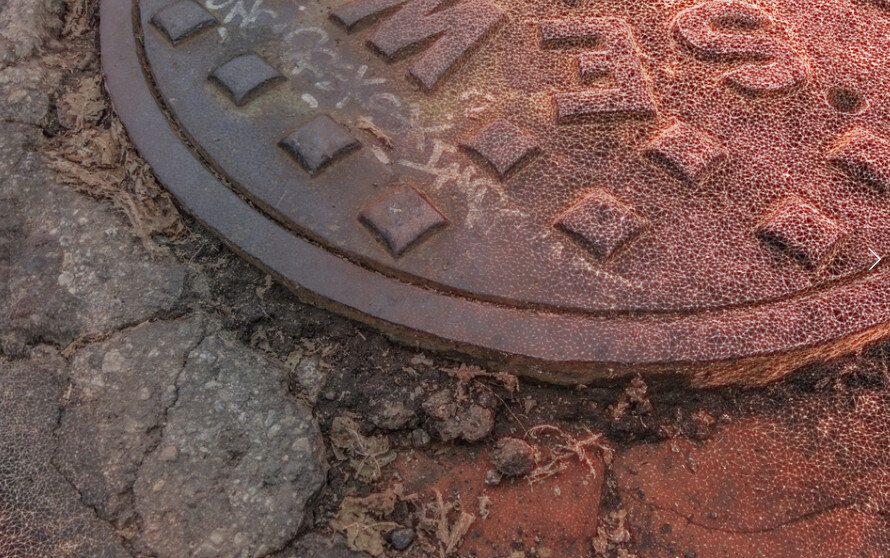
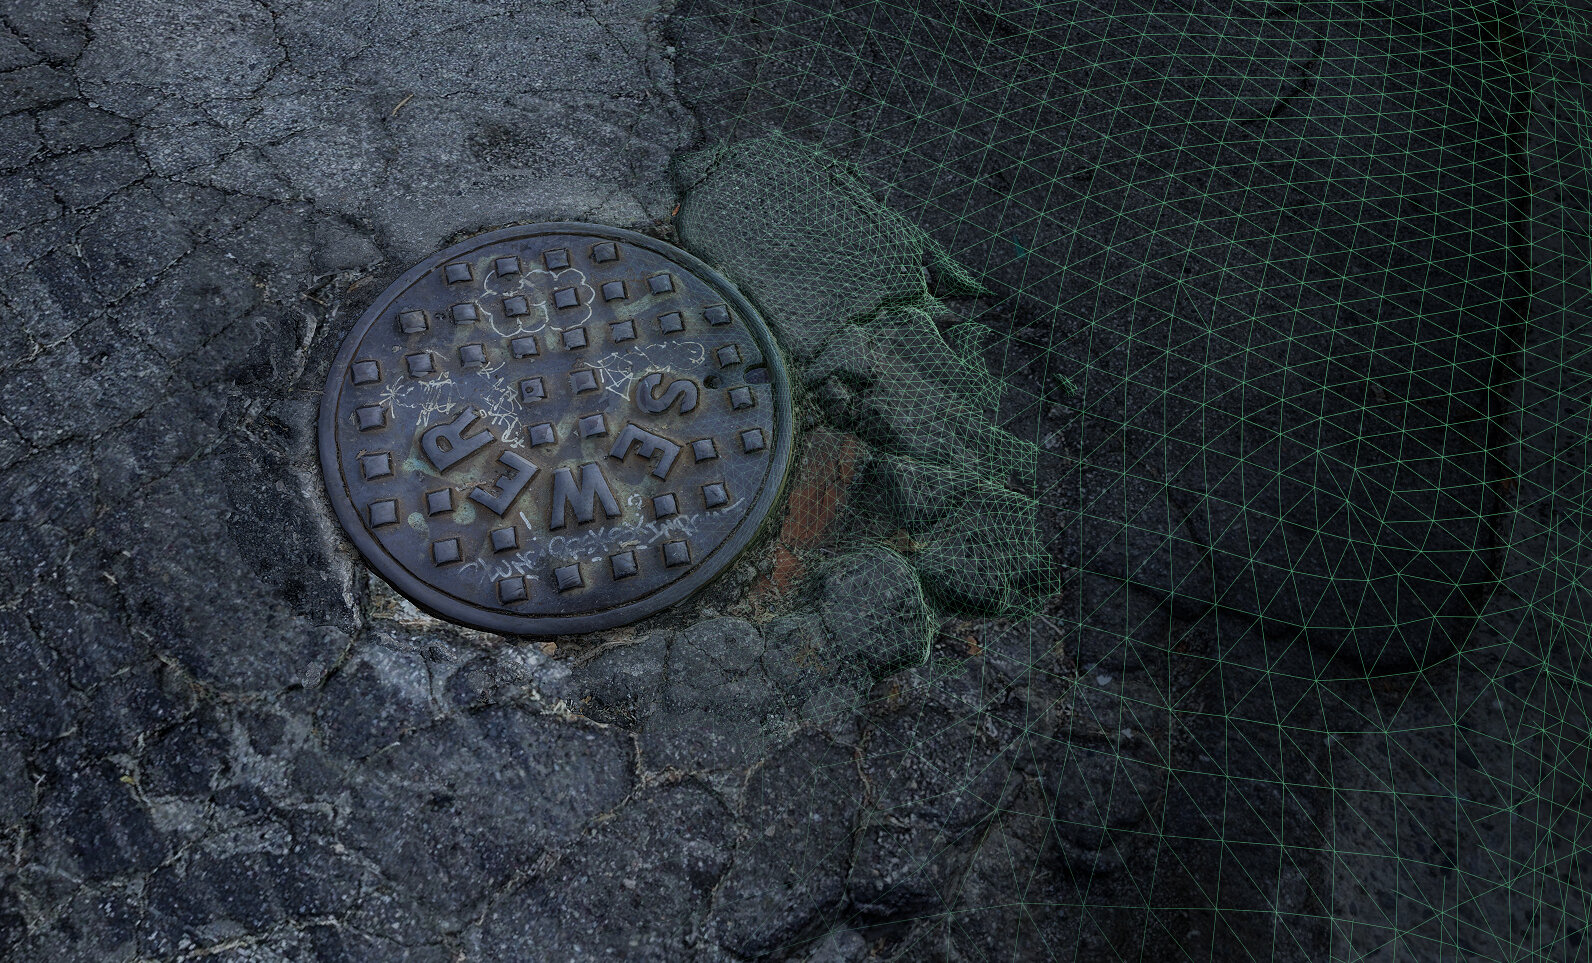
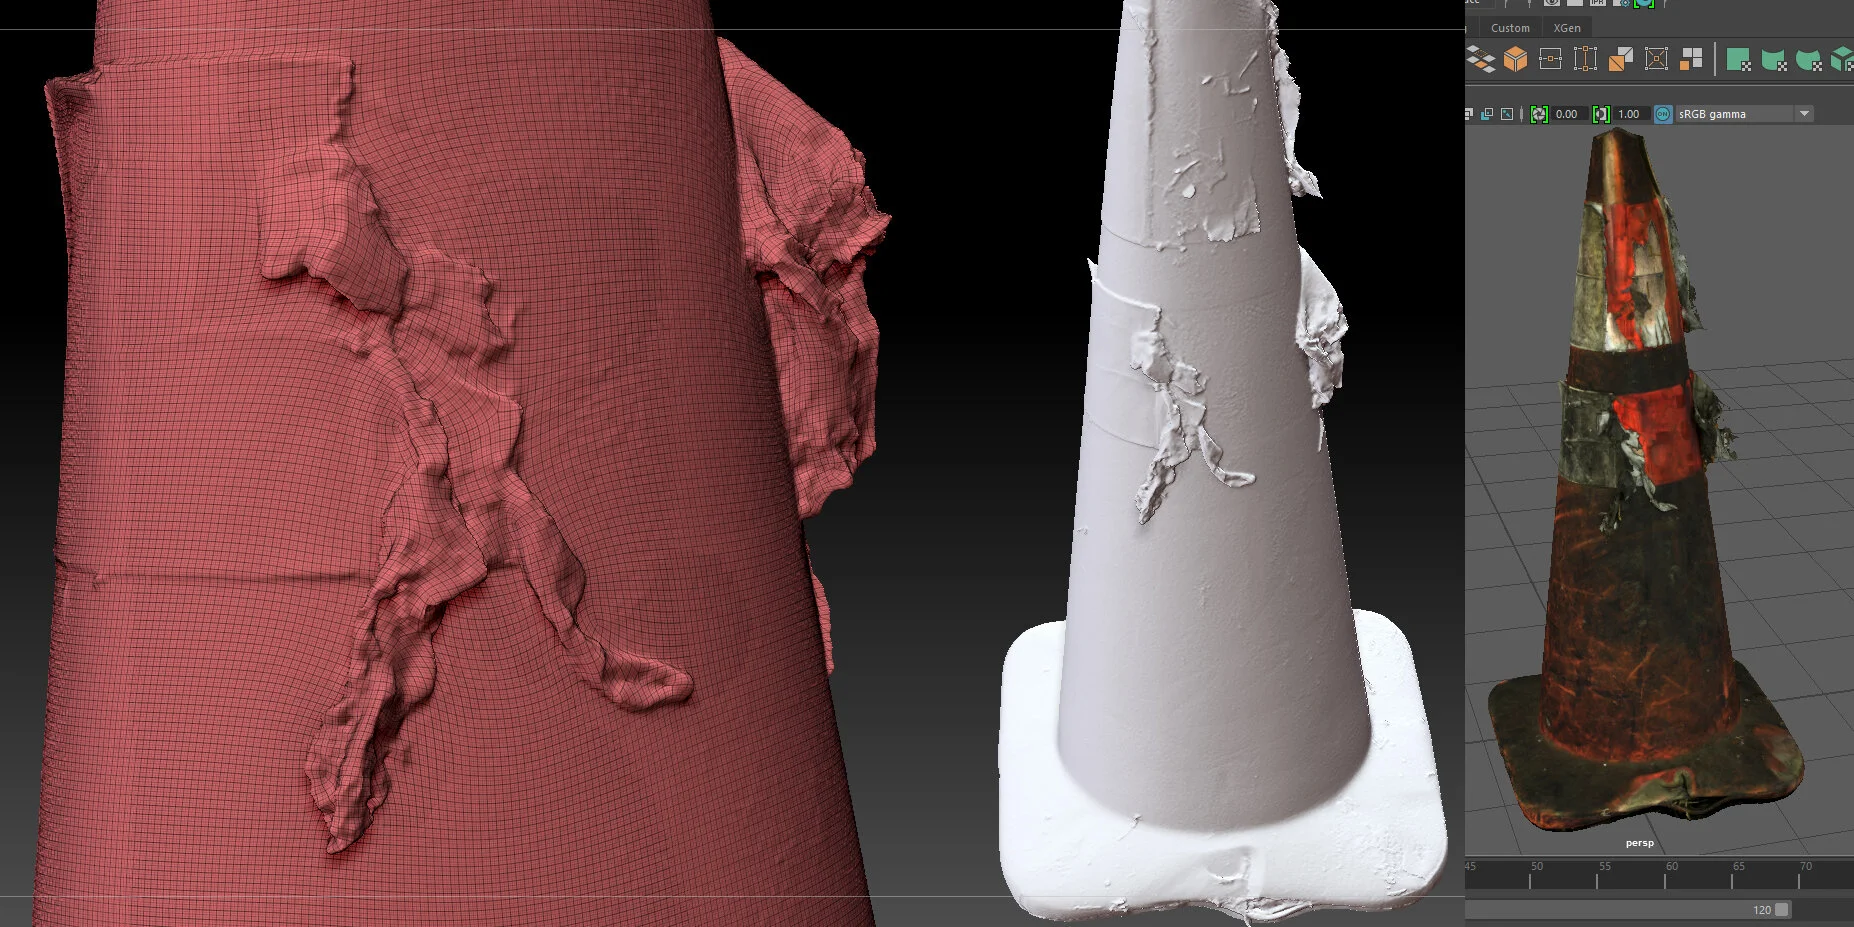
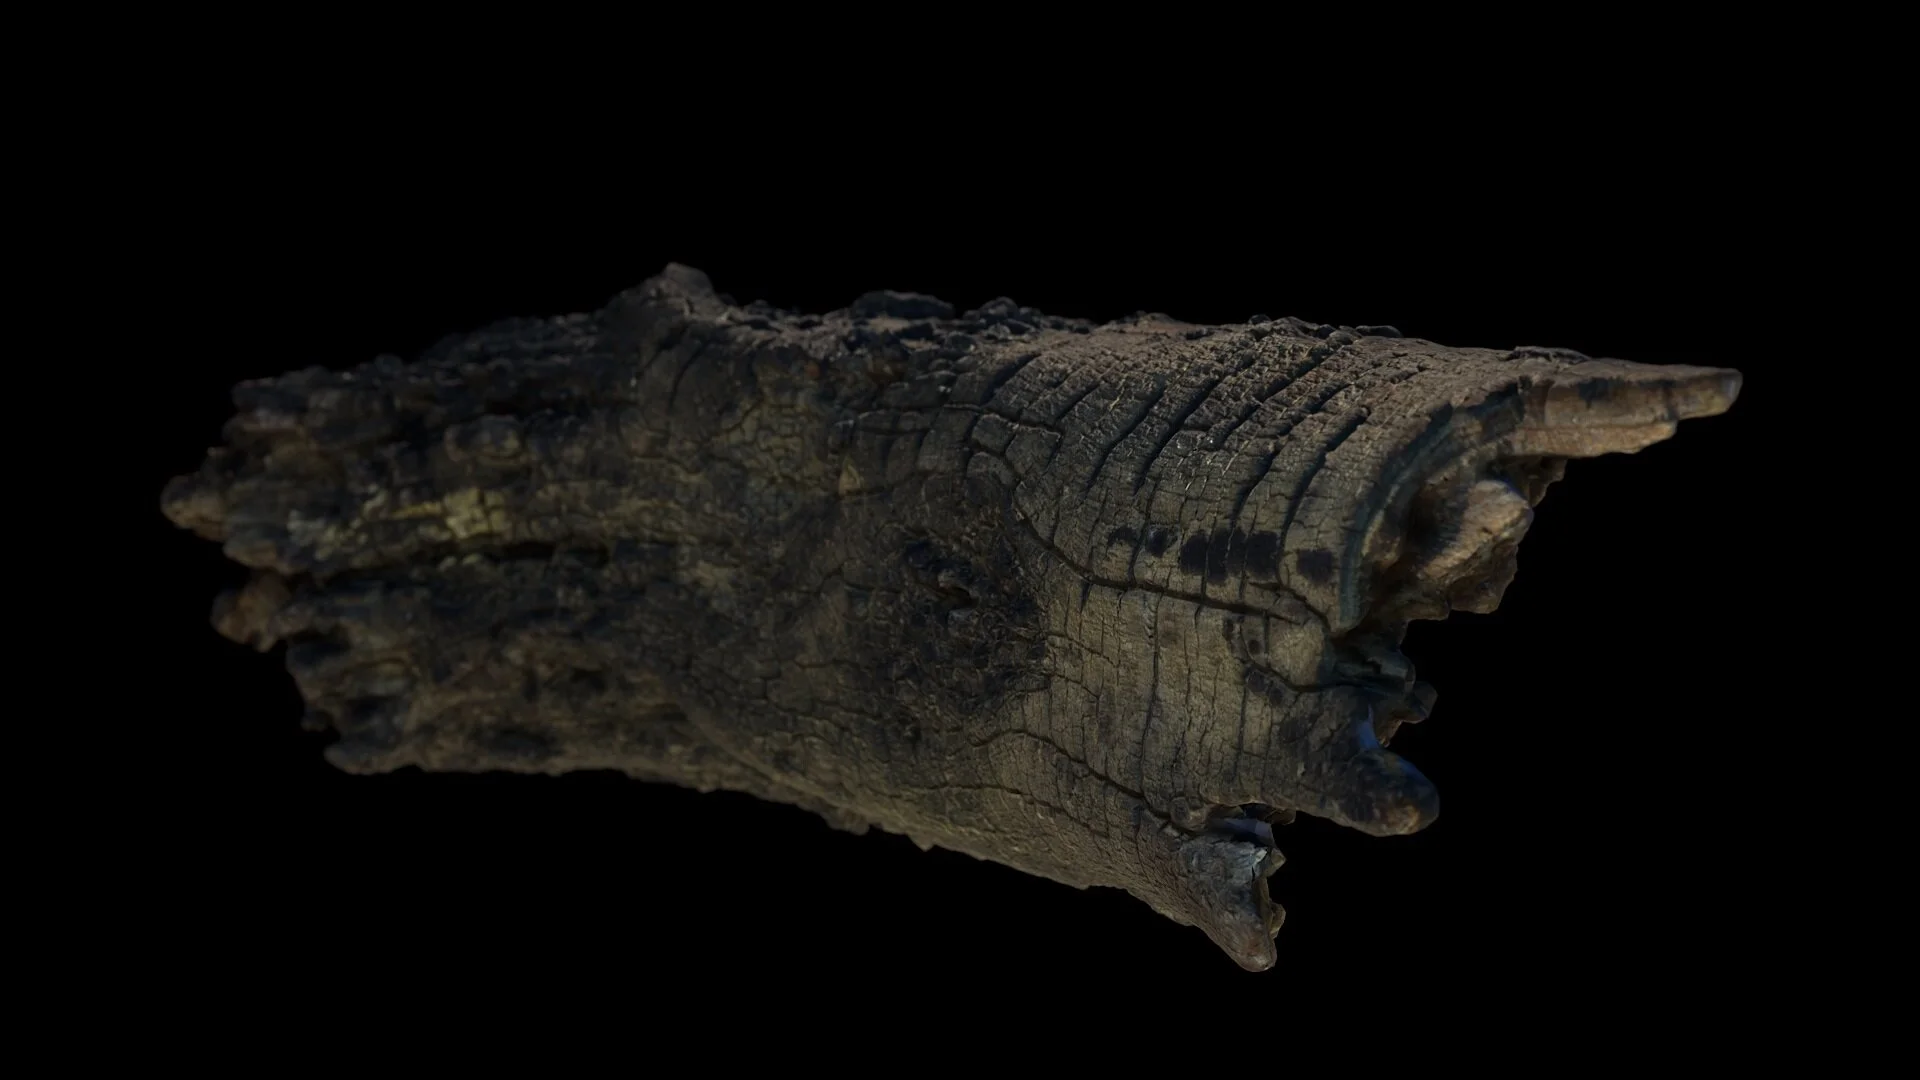
This is a collection of 3D models I produced for a UE4 project.
I was responsible for the whole process of scanning to creating game-ready props and textures from them.
I was able to create a fast workflow for processing the scans, doing most of the initial cleanup work in Zbrush using a combination of automated tools and hand sculpting, then re-projecting detail down to low poly versions.
After cleaning up the raw scan, I laid out the UV’s on the lower poly meshes in Maya, then brought it back into Photoscan to project the original photographs into the UV space. At this stage I also baked down the cleaned up high poly scan into a normal map for use in the game engine.
Finally, I used Substance painter to clean up seams and artifacts on the game-ready models.